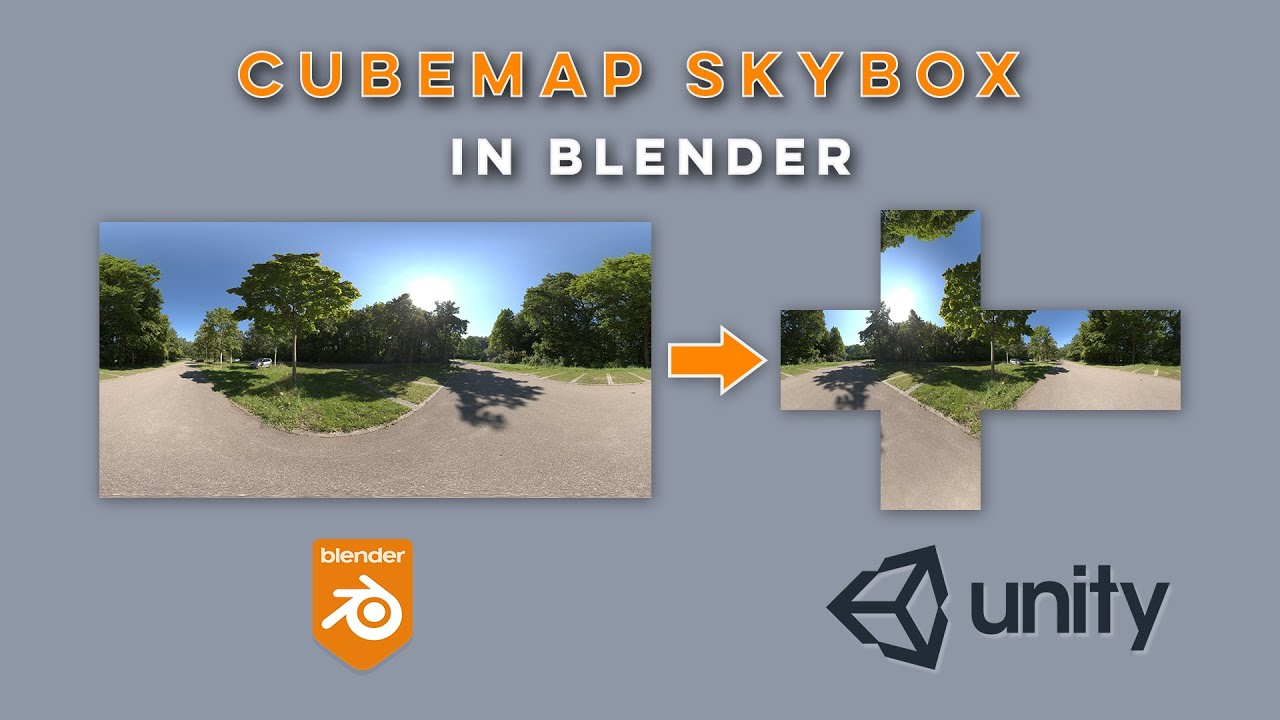
使用Blender将HDRI转化成Cubemap
找一张HDRI的文件。

把下载好的hdr拖入编辑界面。
记得将cube的UV进行旋转。
Shift+A创建Environment Texture。
选择那张HDR图片,并将此node连接到BaseColor上。在透视图中的Cube上就能看到效果。
将Render Engine换成Cycles,Bake Type换成Diffuse,去选Direct和Indirect,Margin Size改成0px,为烘焙做准备。
Shift+A添加Image Texture,设置一下Name和长宽比。
选择Image Texture,点击Bake。
Bake后的结果,并将它保存为png。
导入photoshop进行crop处理,并保存为Jpeg。
拽进Unity里面,双击CubeMap。在Inspector里面的Texture Shape改成Cube,并点击Apply。
创建一个Material,并将它的Shader改成Skybox/Cubemap。
最后把Material拖到场景里面验证。

- 感谢您的赞赏。
 Ko-fi
Ko-fi 爱发电
爱发电
List of appreciation
因为有你们的支持,我才体会到写文章的价值。
This piece of writing is an original article, utilizing theCC BY-NC-SA 4.0Agreement. For complete reproduction, please acknowledge the source as Courtesy of虎了吧唧
Behold, those who found delight in this piece also perused

Comment